Brewing the Perfect Cup of Kalita Wave Coffee
Are you looking for a way to make your morning coffee even better? The Kalita Wave is a wonderful pour-over brewing method that can help you make the perfect cup of coffee. With its flat-bottomed design and unique, three-hole filters, the Kalita Wave allows for more even extraction than other pour-over methods. This guide will teach you how to brew a delicious cup of Kalita Wave coffee.
Before you start brewing, it’s important to choose the right beans and grind size. Choose your favorite beans (preferably freshly roasted) and grind them slightly coarser than what you would use for a regular pour over. Then, grab your Kalita Wave brewer, filters, and scale.
Kalita Wave Coffee is a pour-over brewing method that has been gaining popularity in recent years. It is a unique way of making coffee that uses a specially designed Kalita Wave Dripper, which creates a uniform extraction and produces a cup with excellent flavor.
The Kalita Wave Dripper features three small holes in the bottom, which helps to create an even extraction of the coffee grounds. This helps to produce an even cup with sweet and bright notes. Additionally, the flat-bottomed design of the dripper allows for better control over the brewing process.
When brewing with the Kalita Wave Dripper, it is important to use a coarse grind size, as this will prevent over-extraction of the grounds. The temperature of the water should also be between 195-205°F for optimal flavor and extraction. Finally, it is necessary to pour slowly in concentric circles in order to ensure an even extraction.
Overall, the Kalita Wave Brewing Method is an excellent choice for those who are looking for a unique and flavorful cup of coffee. With its uniform extraction and easy-to-control brewing process, it’s sure to provide you with great tasting coffee every time!
Contents
What Is Required To Brew Kalita Wave Coffee?
Brewing coffee with a Kalita Wave is a great way to get a smooth, flavorful cup of coffee. To get the most out of your Kalita experience, you’ll need some specialized equipment. The key components are the Kalita Wave brewer, filters, and a gooseneck kettle. You’ll also need freshly-roasted coffee beans and a burr grinder for optimal results. Here is what you need to brew excellent coffee with your Kalita Wave:
Kalita Wave Brewer: The Kalita Wave brewer is an hourglass-shaped pour-over device that has three small holes at the bottom for even extraction. It’s designed to make delicious cups of coffee in just a few minutes.
Filters: The Kalita Wave requires special filters that are thicker than standard filters for pour-over brewers. These filters ensure that the water flows evenly through the grounds, resulting in better flavor extraction and smoother coffee.
Gooseneck Kettle: A gooseneck kettle is essential for the best brewing results with the Kalita Wave. The narrow spout on the kettle helps you pour water evenly over the grounds, resulting in more even extraction and better flavor in your cup of coffee.
Coffee Beans:
Freshly-roasted specialty grade beans are key to getting great flavor out of your coffee. The fresher the beans, the more flavor they will have when brewed. Look for beans that have been roasted within two weeks of purchase for optimal flavor.
Burr Grinder:
A burr grinder is essential for getting an even grind size from your beans before brewing. An uneven grind size can result in over or under extraction, which can lead to bitter or weak coffee flavors respectively. Investing in a good burr grinder will help ensure you get consistent results every time you brew with your Kalita Wave!
Preparing the Coffee Grounds
Making a good cup of coffee starts with fresh and properly prepared coffee grounds. The best way to do this is to use freshly ground beans, as pre-ground beans can start to lose their flavor quickly. To ensure that your coffee grounds are of the highest quality, it is important to grind them as close to when you plan on making the coffee as possible.
When grinding your coffee beans, it is important to find a consistency that works for you. Generally, a medium-fine grind works best for most brewing methods, but finer or coarser grinds may be necessary for certain brewing methods. If the grind is too coarse, the water will not be able to extract all of the flavor from the beans; if it is too fine, the water will flow through too quickly and create an overly strong cup of coffee.
It is also important to measure out your coffee grounds correctly. Depending on how strong you like your coffee and what type of brewing method you are using, you may need anywhere from two tablespoons to four tablespoons per cup of water. Too little grounds can result in weak-tasting coffee, while too many can overpower your taste buds and make it difficult to enjoy your beverage.
Finally, it is important to make sure that all of the grounds are evenly distributed in whatever container you are using for brewing your coffee. This will allow for an even extraction rate throughout the entire brew process and create a more balanced cup of coffee overall.
Preparing the Filter Paper
Filter paper is a versatile tool used for a variety of applications in chemistry, including filtrations, separations, and qualitative analysis. In order to use filter paper effectively, it is important to understand how to prepare the filter paper before use. The preparation process begins with selecting the right type of filter paper for the job. Depending on the type of experiment or procedure, different types of filter paper can be used. Once the right type of filter paper has been selected, it must be cut to size. This can be done by measuring out and cutting a piece that is slightly larger than needed in order to give some room for error.
The next step in preparing filter paper is to fold it correctly. This will depend on what kind of experiment or procedure is being conducted and what type of filtration is needed. Generally, two common folds are the pinch fold and cone fold. With both folds, the edges should be folded inward to make sure that no particles escape from them during filtration processes. It is also important to ensure that there are no cracks or tears in the filter paper before use.
Finally, after folding and checking for any defects in the filter paper, it must be conditioned before use. This involves wetting the filter paper with an appropriate liquid such as water or a solvent that does not dissolve any of the components being filtered out. This conditioning process helps to ensure that all passages through which particles can pass during filtration are open and ready for use. Once this preparation process has been completed, then the filter paper can be safely used for its intended purpose without risk of contamination or clogging up of filters due to poor preparation techniques.
Preparing the Brewer
Brewing coffee is an art form and having the right equipment and supplies can make all the difference. To prepare a brewer, start by selecting the type of coffee you want to brew. You can select from whole bean, pre-ground, or instant coffee. Once you have made your selection, measure out the desired amount of beans or pre-ground coffee into the grinder and grind it to your desired consistency. If using instant coffee, mix it with hot water according to package directions.
Next, fill your brewer with cold filtered water and add it to the machine. For most brewers, this means pouring the water into a reservoir before turning on the machine. Adjust your brewer’s settings according to the type of coffee you are brewing and then press “start” to begin brewing. When finished, pour your freshly brewed cup of joe and enjoy!
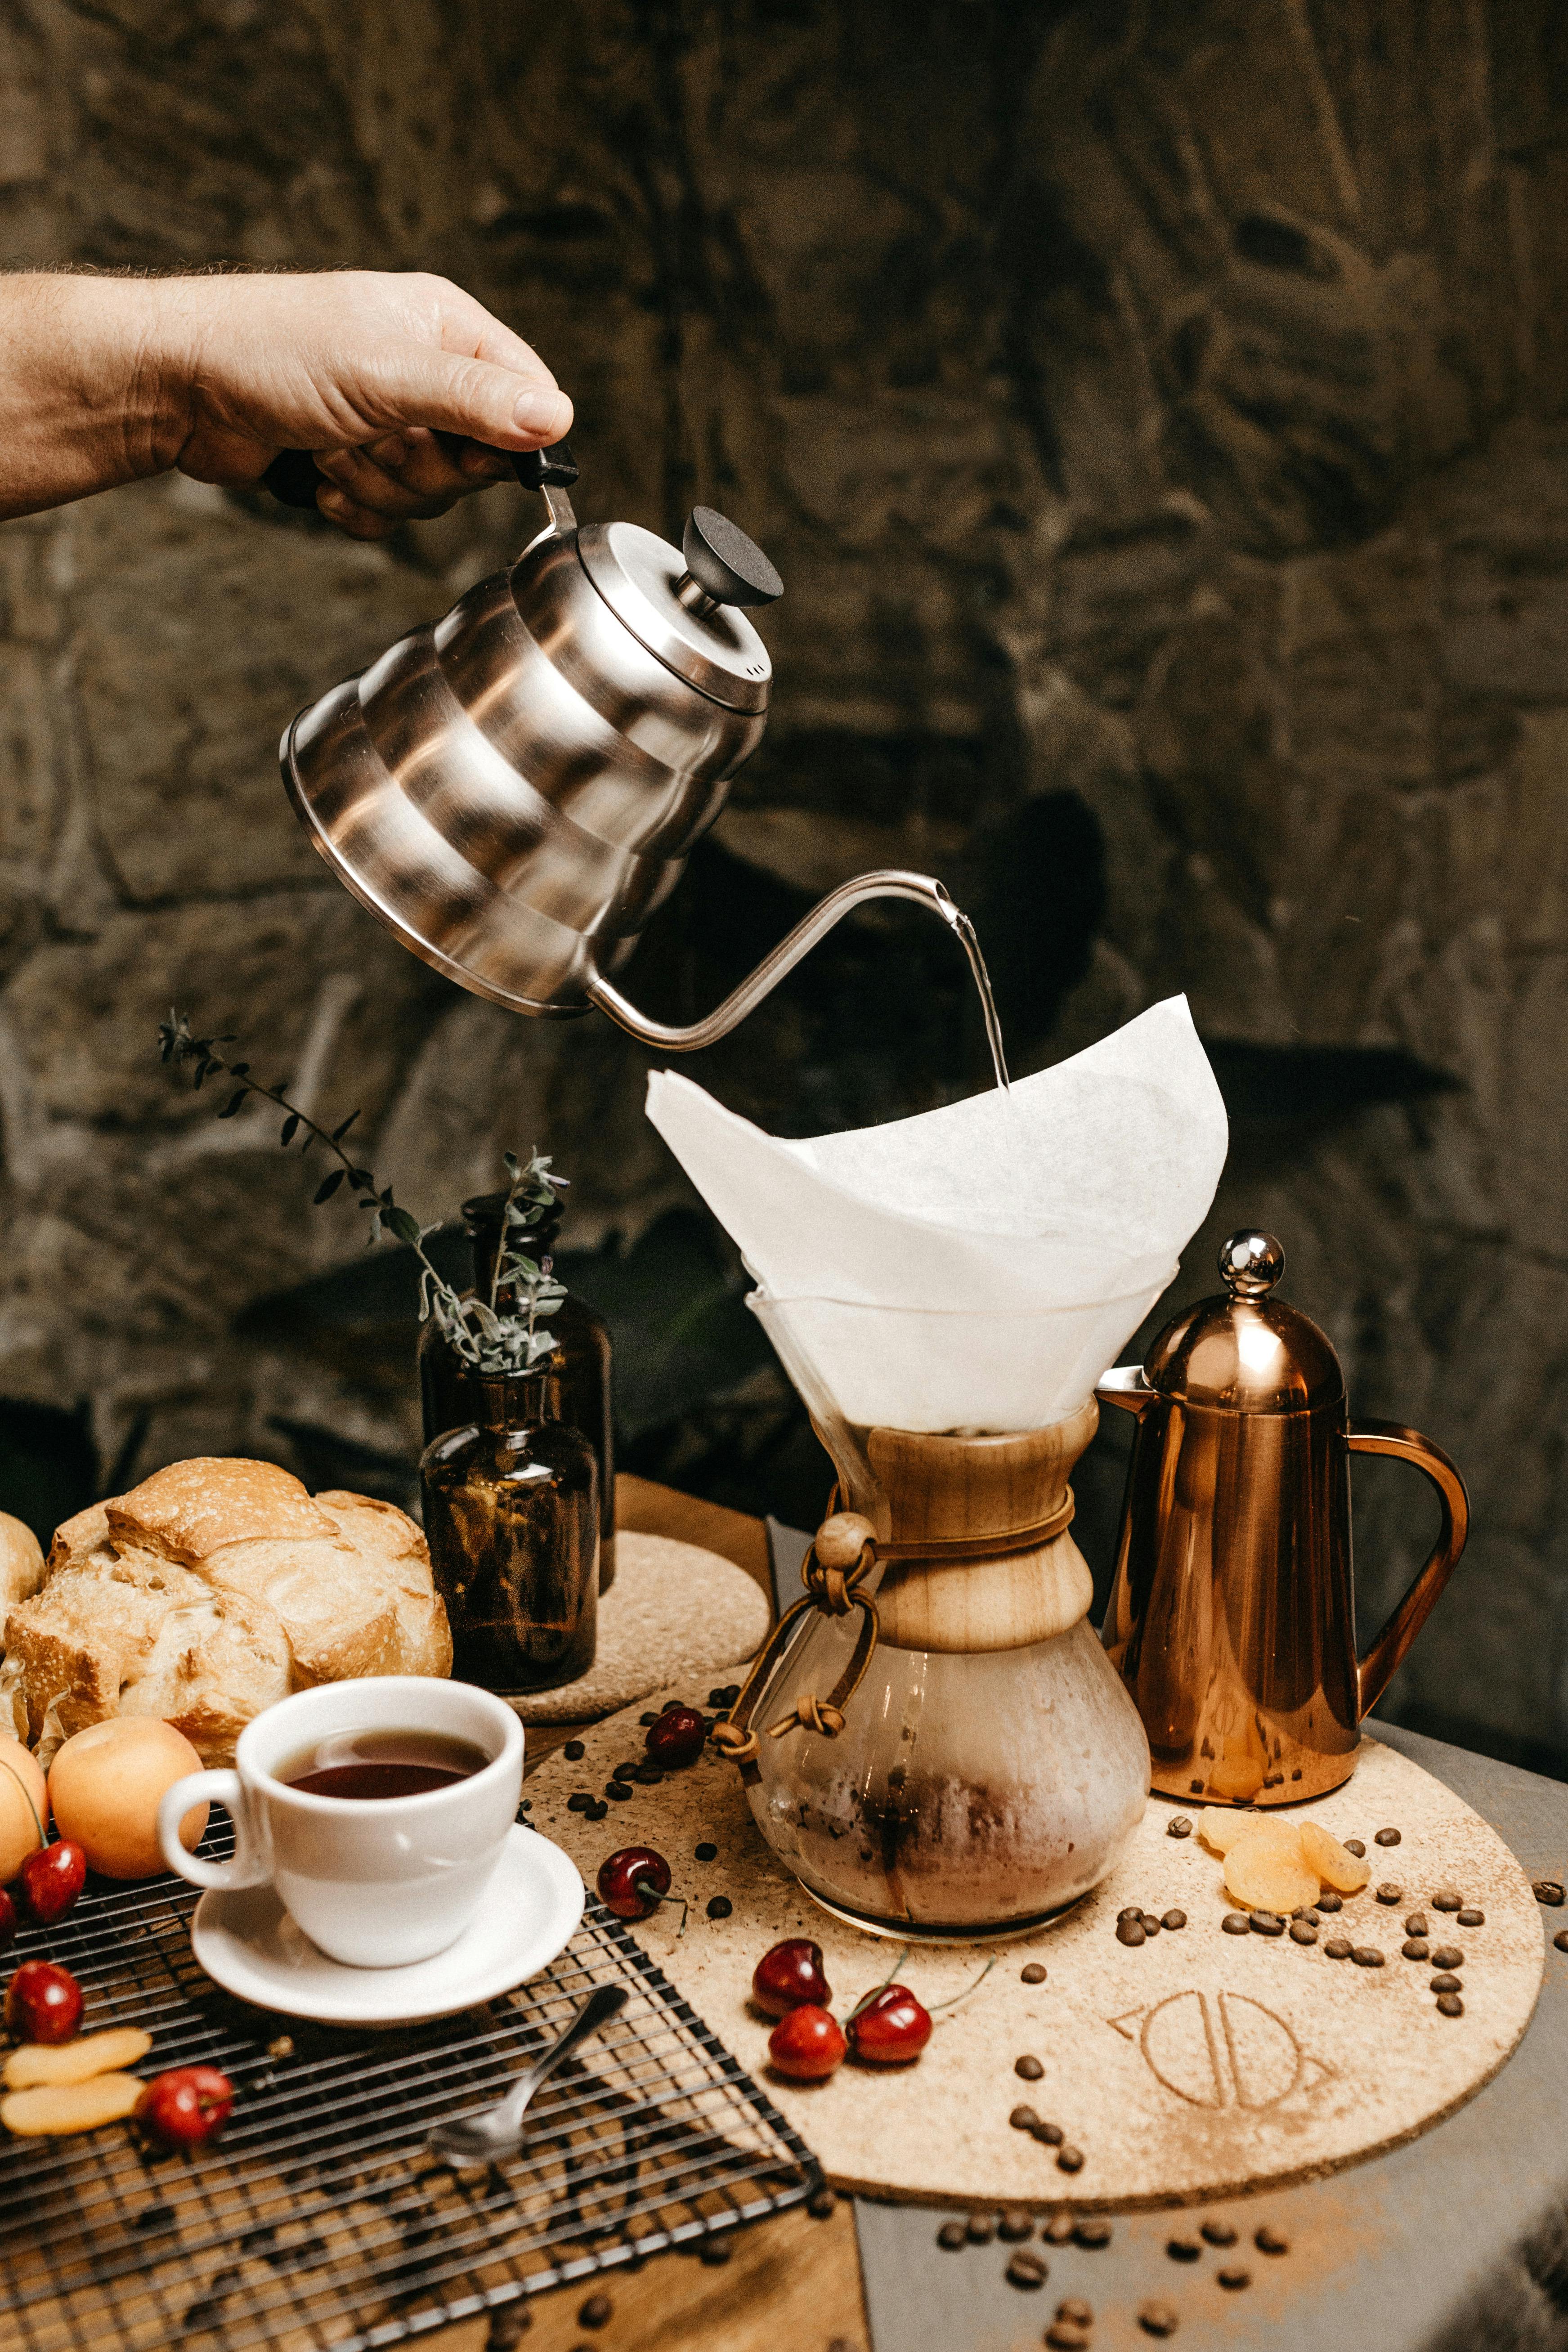
Pouring the Water
The process of pouring water is quite simple. It involves pouring a measured amount of water into a container and then stirring it to ensure the water has been thoroughly mixed. Once the stirring is done, the container can be left to stand for a few minutes to allow the water to settle. After that, the water can be poured off for use in whatever process it is needed for.
Extraction Process
Extraction is the process of separating a substance from a mixture. In this case, water extraction involves extracting pure water from impure sources such as polluted rivers or lakes. This is done by using various filtration systems such as reverse osmosis or distillation. The extracted water can then be used for drinking, cooking and other purposes. Depending on the source of water, additional treatments such as chemical disinfection may also be required in order to make sure it is safe for consumption.
Adjusting the Grind Size
The grind size of coffee beans is an important factor in achieving a perfect cup of espresso. The grind size directly affects the amount of water used to extract the espresso, and thus the resulting flavor of the espresso. Adjusting the grind size can be done by either changing the type of grinder being used, or by making minor adjustments to the existing grinder. Different types of grinders produce different levels of fineness, and choosing the right one will depend on your preferences and desired results.
Adjusting Extraction Time
Extraction time is another important factor in making espresso. The amount of time that water is exposed to coffee grounds during extraction will determine how much flavor is extracted from the beans, as well as how intense or mild that flavor will be. Generally speaking, longer extraction times will result in more intense flavors, while shorter extraction times will produce milder flavors. Adjustments to extraction time can be made by adjusting the rate at which water is dispensed through the espresso machine, as well as by adjusting the amount of coffee grounds used for each shot.
Cleaning the Brewer After Use
It is important to clean the coffee brewer after each use in order to maintain its efficiency and performance. Coffee residue and oils can accumulate over time and result in poor coffee flavor. Below are some tips for cleaning your brewer:
- Rinse out the carafe with warm water after each use.
- Clean the exterior of the brewer with a damp cloth.
- Use a cleaning solution or vinegar-water mixture to clean the interior of the brewer.
- Descale your brewer at least once every three months.
Descaling is especially important for maintaining optimal brewing performance, as mineral deposits can build up over time. To descale your brewer, fill the carafe with equal parts vinegar and water, then pour it into the water reservoir of your brewer. Select a brew cycle and allow it to run until half of the mixture has been used up. Turn off your machine, then let it sit for an hour before rinsing out any remaining residue. Finally, run two more cycles using only plain water in order to rinse out any remaining vinegar or cleaning solutions.
It is recommended that you thoroughly clean all removable parts of your coffee maker at least once a month. These parts include any filters, baskets, lids, or other accessories included with your brewer. Make sure you rinse them thoroughly before replacing them back into your machine.
Conclusion
Brewing Kalita Wave Coffee is a fun and challenging process. With the right tools and technique, you can have a delicious cup of coffee in no time. It is important to remember that the key to brewing great coffee with the Kalita Wave is finding the right balance between grind size, water temperature, and contact time. Once you find this balance, you can enjoy a perfect cup of coffee every time.
By taking your time to explore different recipes and understand the basics of brewing with the Kalita Wave, you will be able to make consistently delicious cups of coffee with ease. There are many variables involved in brewing great Kalita Wave Coffee, but with some practice you can master it in no time!
0 Comments