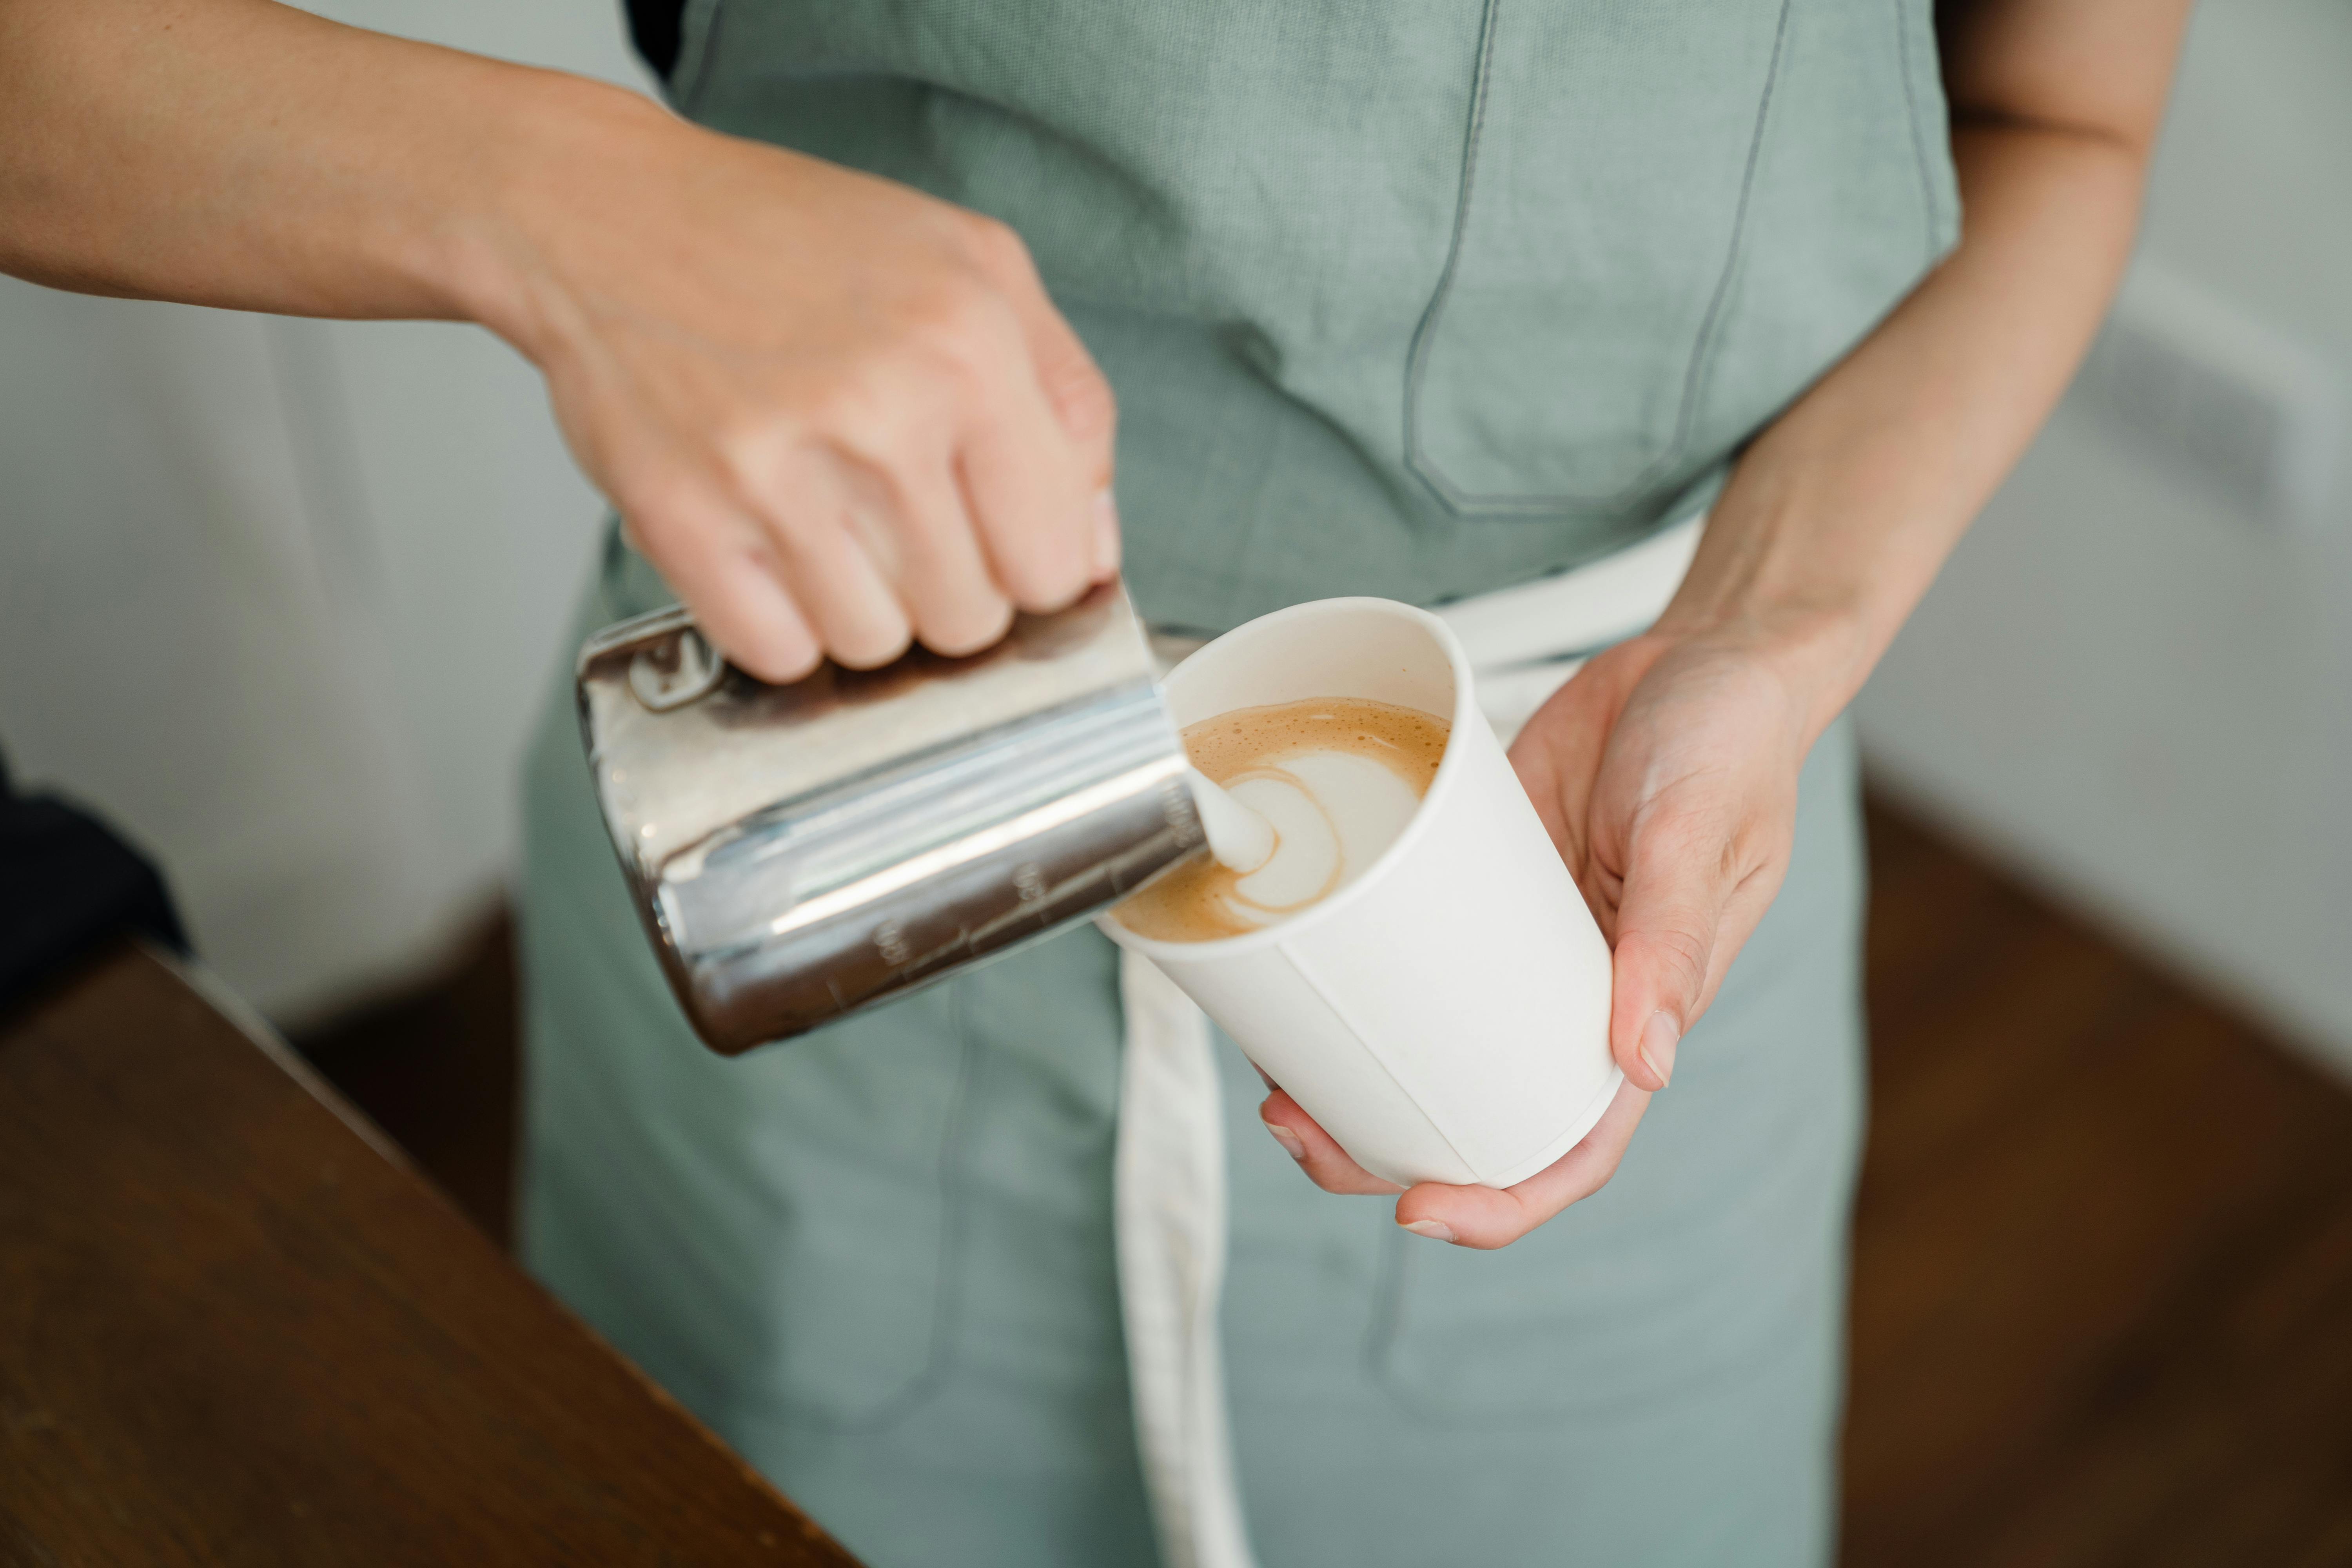
Making your own goat milk soap is a great way to get creative in the kitchen and make use of fresh, natural ingredients.
Goat milk soap has many benefits for skin, such as being an excellent moisturizer, helping with acne and eczema, and leaving skin feeling soft and smooth. In this guide, you will learn how to make goat milk soap from scratch using all-natural ingredients.Goat milk soap is a type of soap made from the milk of goats. It has been used for centuries as an effective and natural way to cleanse skin. Goat milk soap contains many vitamins, minerals and proteins that nourish and protect the skin. It is also rich in fatty acids, which help to keep skin soft and hydrated.
Goat milk soap is considered to be a gentle cleanser and is often used on sensitive or dry skin. It can help reduce inflammation, fight acne and other skin conditions, moisturize skin, remove dead cells and impurities from the surface of the skin, as well as providing anti-aging benefits.
Goat milk soap is also free from many harsh chemicals found in other types of soaps such as sulfates, parabens and phthalates. This makes it a great option for those with sensitive or delicate skin looking for an all-natural alternative to harsher soaps.
The Benefits of Using Goat Milk Soap
Goat milk soap is becoming increasingly popular due to its many benefits. It is known for being gentle on the skin and even being beneficial for those with sensitive skin. Goat milk soap has a high fat content, which helps to keep the skin hydrated and can help keep it looking soft and smooth. In addition, goat milk soap is packed with nutrients like vitamins A, D, and E, as well as essential fatty acids, which can help to keep the skin healthy and nourished.
Goat milk soap also offers anti-bacterial properties that can help protect the skin from bacteria that can cause irritation or acne. The lactic acid in goat milk also helps to exfoliate the skin and remove dead skin cells, which can help improve the appearance of the skin by reducing blemishes or wrinkles. Furthermore, goat milk soap has a neutral pH balance that helps to prevent dryness or irritation.
Goat milk soap is also a great choice for those with allergies because it is hypoallergenic and free of harsh chemicals or additives that are often found in other soaps. This makes it much less likely to irritate sensitive skin or cause any kind of reaction. Finally, goat milk soap has a unique creamy texture that creates a beautiful lather when used with water. This luxurious lather helps to make using goat milk soap a pampering experience every time!
Ingredients Needed to Make Goat Milk Soap
Goat milk soap has become a popular choice for those who want to stay away from harsh chemicals and artificial ingredients. Making your own goat milk soap can be a fun and rewarding experience, but it does require some specific ingredients. Here are the ingredients you need to make goat milk soap:
Lye: Lye, also known as sodium hydroxide, is an essential ingredient in making goat milk soap. It is a caustic alkali that must be handled with care, so be sure to wear safety goggles and gloves when handling lye.
Goat Milk: Obviously, goat milk is a key ingredient in making goat milk soap! You can either use fresh or powdered goat milk; however, if you choose to use fresh goat milk, it should be pasteurized first.
Oils: Oils such as olive oil, coconut oil, almond oil, shea butter, and/or cocoa butter are commonly used in making goat milk soap. Each oil contributes different qualities to the finished product such as lather and moisturizing properties.
Essential Oils: Essential oils are used for scenting the soap. Popular choices include lavender, lemongrass, eucalyptus and tea tree oils. Essential oils should always be used sparingly as too much can cause skin irritation.
In addition to these ingredients you will need a few other items such as measuring cups, spoons and containers for mixing your ingredients as well as molds or containers for pouring your finished soap into. With these supplies you’ll have everything you need to make your own homemade Goat Milk Soap!
Introduction
Making your own homemade goat milk soap is a great way to enjoy the luxurious benefits of this natural and soothing product. There are a variety of recipes available online that you can follow, but it’s important to understand the basics of how to make this popular soap before getting started. In this guide, we will explain the step-by-step process for making your own goat milk soap.
Gathering Your Supplies
The first step in creating your own goat milk soap is gathering all of your supplies. This includes lye, water, oil and any additional ingredients you would like to add such as essential oils, fragrances or herbs. It’s important to use only non-toxic ingredients when making goat milk soap, so be sure to research what type of oil and lye are best for your recipe. Additionally, it’s important to wear safety glasses and gloves when handling lye as it can be caustic.
Making the Soap Base
Once you have all of your supplies gathered, you can begin making the soap base. Start by measuring out the lye and water in separate containers and slowly pour them together while stirring constantly until all of the lye is dissolved. Next, measure out the oil and add it to a separate pot or double boiler on low heat until everything has melted together completely.
Adding Goat Milk
Once the oils have melted together completely, add in cold goat milk slowly while stirring constantly so that it blends into the mixture evenly. Once everything is blended together thoroughly, turn off the heat and allow everything to cool down before adding any additional ingredients such as essential oils or fragrances.
Pouring into Molds
Once everything has cooled down completely you can begin pouring your mixture into molds or trays that have been lined with parchment paper or plastic wrap. Allow the mixture to sit for at least 24 hours before unmolding so that it hardens completely.
Curing Process
The final step in creating homemade goat milk soap is curing it for several weeks before using it. This allows time for excess moisture to evaporate from the bars which helps them last longer when used on skin or hair. Place your bars in a dry place away from direct sunlight while they cure.
Conclusion
Creating homemade goat milk soap is an easy process once you understand all of the steps involved. With just a few simple ingredients and some patience during the curing process, you can make luxurious bars of soap that will leave your skin feeling soft and moisturized!
What is the Best Temperature for Making Goat Milk Soap?
Making goat milk soap is a popular activity among soap makers. It can be a fun and rewarding experience, but it is important to understand the best temperature for making goat milk soap. The ideal temperature for making goat milk soap is between 110 and 130 degrees Fahrenheit. This temperature range helps the lye and fats to emulsify properly and form a stable emulsion. Too high of a temperature can cause the soap to overheat and become crumbly or too soft, while too low of a temperature can result in incomplete saponification.
It’s also important to keep in mind that this temperature range may vary depending on the specific recipe being used. For instance, some recipes may require higher or lower temperatures in order to achieve desired results. For example, adding extra fats or oils may require lower temperatures for proper saponification. Therefore, it’s best to consult with your recipe instructions before beginning your project.
In addition to following your recipe instructions, it’s also important to pay attention to other factors that can influence the temperature of your soap while it is being made. Humidity levels can have an impact on the temperature of your soap mixture, so be sure to take that into account when creating your batch of goat milk soap. Another factor that should be considered is the type of pot you are using; stainless steel pots tend to heat up faster than enamel pots and should be watched closely during the heating process in order to maintain an even temperature throughout the entire process.
Finally, it’s important to remember that safety should always come first when making goat milk soap. Be sure to wear protective gear such as gloves and eye protection when handling lye or other hazardous materials during this process. Additionally, be sure not leave any children or pets unattended near any hot surfaces or boiling liquids during this activity. Following these safety precautions will help ensure you have an enjoyable and successful experience making goat milk soap!

Choosing the Right Goat Milk for Your Recipe
Goat milk is a great alternative to cow’s milk, and it is becoming increasingly popular in many recipes. It can be used in a variety of dishes, from soups and sauces to smoothies and desserts. However, when it comes to cooking with goat milk, choosing the right kind can be tricky. There are several types of goat milk available on the market today, including raw, pasteurized, and ultra-pasteurized. Each type has its own unique qualities that make it better suited for certain recipes than others. Here’s an overview of the different types of goat milk and how they can be used in different dishes.
Raw Goat Milk: Raw goat milk is the most natural form of goat milk available. It has not been treated with any chemicals or heat, which means that all of the vitamins and minerals found naturally in goat milk are still present. Raw goat milk has a very distinct flavor that some people find off-putting, so it may not be suitable for all recipes. However, due to its high nutritional content and natural flavor profile, raw goat milk can be used to make delicious and nutritious smoothies or yogurt.
Pasteurized Goat Milk: Pasteurized goat milk is slightly heated before it is packaged for sale. This process kills off some of the bacteria present in raw goat milk while also making it more shelf-stable. Pasteurized goat milk has a milder flavor than raw goats’ milk and is easier to digest. It can also be used in baking applications like cakes or cookies where its mild flavor won’t overpower the other ingredients.
Ultra-Pasteurized Goat Milk: Ultra-pasteurized goats’ milk is heated at a much higher temperature than pasteurization alone; this process makes the product even more shelf-stable but can also alter its flavor profile considerably. Ultra-pasteurized goats’ milk has a much milder flavor than pasteurized or raw goats’ milks and can be used as a substitute for cow’s milks in many recipes without affecting the overall taste too drastically.
When selecting a type of goats’ milks for your recipe, consider what kind of flavor profile you would like to achieve as well as how much time you have available to prepare the dish. Raw goats’ milks have an intense flavor that may not work well with some dishes while ultra-pasteurized milks are more subtle but lack some nutritional value compared to their raw counterparts. Ultimately, choosing the right kind of goats’ milks should depend on your personal preferences and what kind of recipe you are making!
Adding Fragrance to Your Soap
Adding fragrance to your soap is a great way to make it unique and give it a special scent. There are many different types of fragrances available from essential oils to fragrance oils, depending on the type of soap you are making. Essential oils are derived from plants and provide a natural scent. Fragrance oils are synthetic, but they can provide a stronger, longer-lasting scent than essential oils. When choosing a fragrance for your soap, keep in mind that the scent will become weaker as the soap ages.
When adding essential oils to your soap, you will need to use about ½ teaspoon for every pound of soap you make. If you are using fragrance oils, the recommended amount is about 1 teaspoon per pound of soap. It’s important to remember that when adding either type of oil, always add it after the soap has reached trace (the point when all the ingredients have been mixed together). Once added, stir well to ensure the oil is fully incorporated into your soap mixture.
Adding Color to Your Soap
Adding color to your soap can be done in several ways and will depend on what type of colorant you choose. Natural colorants such as clays and botanicals can be used for a more subtle look while synthetic colorants such as micas and oxides give soaps a vibrant hue. If using natural colorants such as clays or botanicals, add them directly into the lye water before combining with other ingredients and stirring until fully dissolved.
For more intense colors, synthetic colorants such as micas and oxides can be used. These should also be added directly into the lye water before combining with other ingredients and stirring until fully dissolved. Keep in mind that these types of colorants will not give soaps an even tone throughout; they will fade over time or with each use so if you want an even tone throughout your soaps then it’s best to use natural colorants instead.
Curing Your Homemade Goat Milk Soap
Curing your homemade goat milk soap is an important step to ensure that it is ready for use. The curing process helps the soap to harden, prevents it from becoming soft, and helps to reduce the amount of water in the soap. To cure your soap, you will need to place it in a cool, dry place for at least four weeks. You may also want to turn the bars of soap at least once during this time period. After the curing period is complete, your goat milk soap should be ready for use!
Storing Your Homemade Goat Milk Soap
Once your homemade goat milk soap has finished curing, it’s important to store it properly in order to keep it fresh and ensure that its quality remains intact. To store your soap, wrap each bar in wax paper or parchment paper and then place them in an airtight container. This will help keep moisture out and help preserve the scent of your homemade goat milk soap. Additionally, make sure that you store your soaps away from direct sunlight or heat sources as this can cause them to become soft or deteriorate more quickly.
It is also important to note that if you are not planning on using all of your homemade goat milk soaps immediately after they have finished curing, you can also freeze them for up to three months. Freezing your soaps can help them last longer and will prevent any mold or bacteria from forming on them.
Conclusion
Making goat milk soap is a rewarding experience. With the right ingredients, equipment and knowledge, you can create a soap that is gentle on the skin and smells great. As long as you follow safety precautions when handling lye and make sure to use high-quality ingredients, you will have no problem making goat milk soap at home.
Goat milk soap is a luxury product that can be enjoyed by anyone who wants to experience its many benefits. With time and practice, you can become an expert in goat milk soap making and start selling your handmade soaps to family, friends or customers.
In conclusion, making goat milk soap at home is easy and fun. It’s a great way to relax and produce something unique for yourself or others to enjoy. With this guide in hand, you’re well on your way to creating your own luxurious bars of goats milk soap!
0 Comments