Making latte art with milk coffee is a great way to show off your barista skills. It may look complicated, but with a few simple steps, you can make beautiful designs for your coffee. Here’s how you can create your own latte art masterpiece:
• Gather the supplies: You’ll need espresso shots, steamed milk, and a pitcher that is specifically designed for latte art. You’ll also need a spoon or other tool to create the design.
• Prepare the coffee: Pull two shots of espresso and pour them into the cup. Then fill it up with steamed milk.
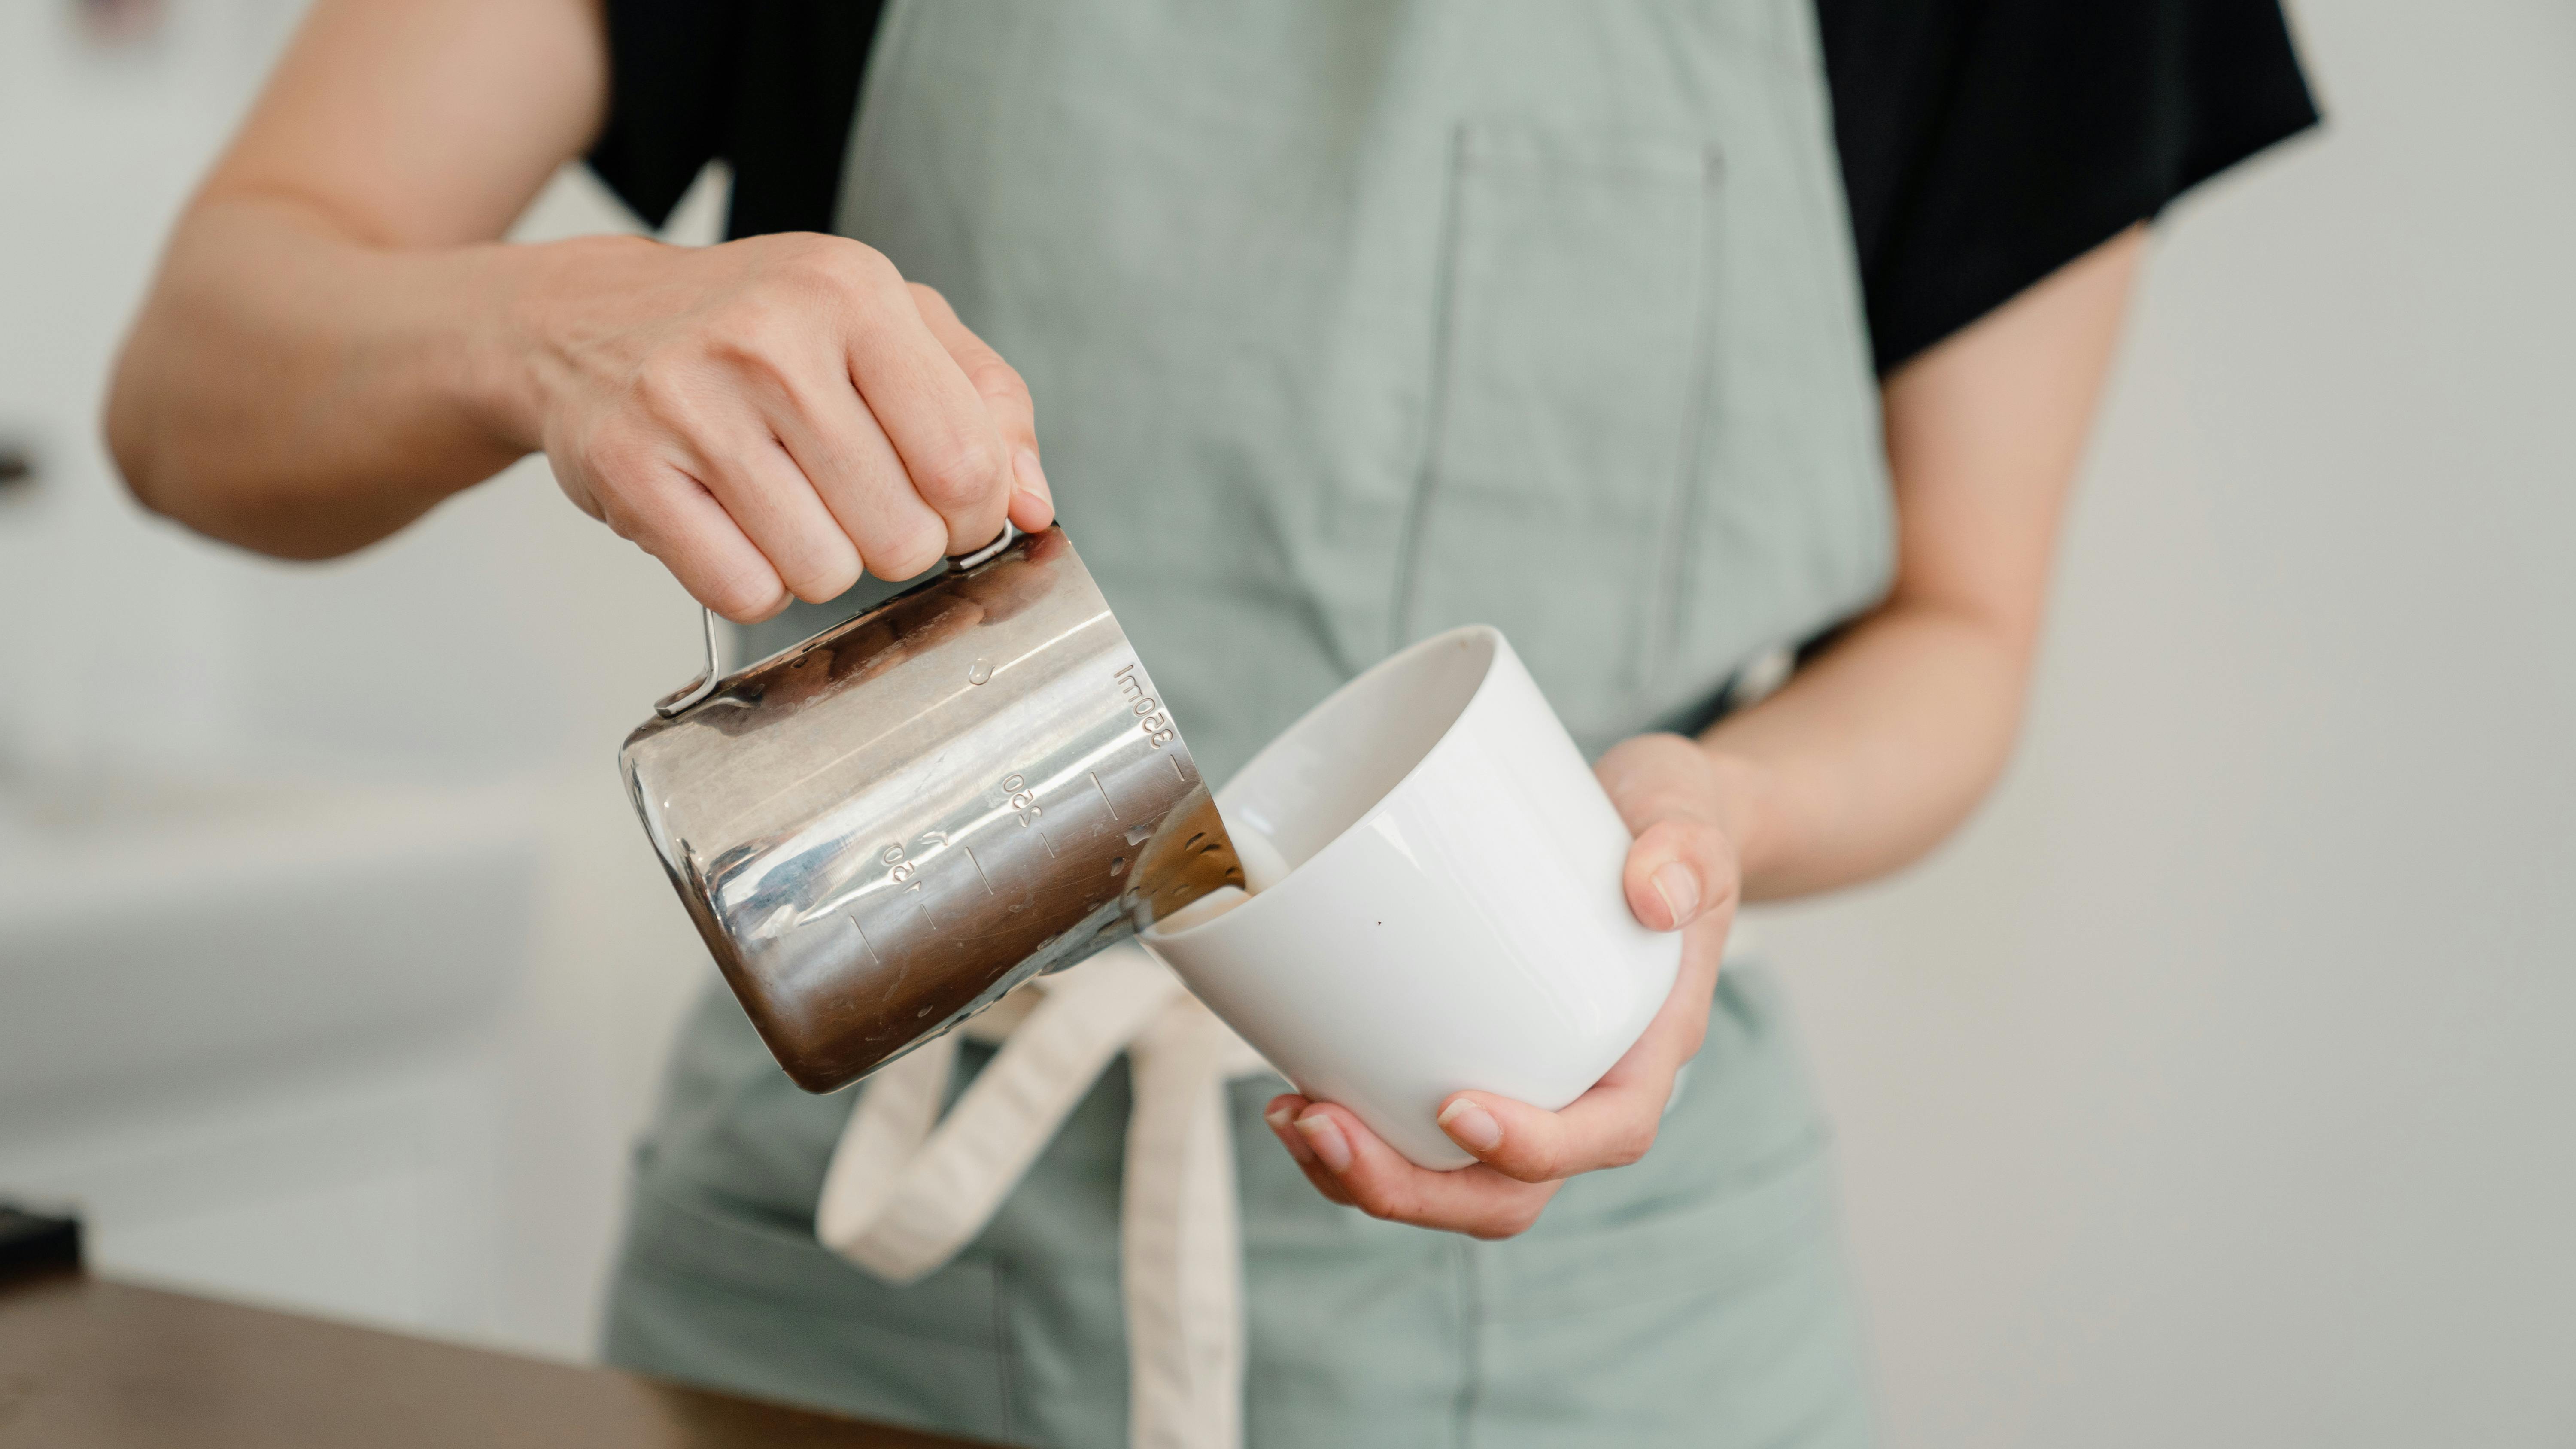
• Create the design: Pour the steamed milk slowly into the cup, using a circular motion. When you’ve created the desired shape, use a spoon or other tool to add details like hearts or leaves.
• Finish off: If you want to add more detail, sprinkle some cocoa powder or chocolate syrup on top of the design. And voila – you now have beautiful latte art!Latte Art is the craft of pouring steamed milk into espresso to create a design on the surface of the latte. It is a creative way of making traditional coffee drinks like cappuccinos and lattes. In order for the art to come through, the espresso and milk must be carefully textured and poured into the cup in a specific way. The result is an aesthetically pleasing beverage that can look like anything from a heart or a rosette to more elaborate designs.
Latte art has become increasingly popular in recent years, with baristas competing in competitions to show off their skills. To make latte art, baristas must have mastery over the texture and temperature of both the espresso and steamed milk. They need to be able to create a smooth layer of foam on top of the espresso shot while pouring it into the cup in one continuous motion. This takes practice, patience, and precision.
Latte art can be seen in cafes all over the world, making it not only enjoyable but also an aesthetically pleasing experience for coffee lovers everywhere.
Contents
Different Techniques Used for Making Latte Art
Latte art is an art form that involves pouring steamed milk into a shot of espresso in order to create a design. It has become increasingly popular in recent years and is used to add aesthetic appeal to coffee beverages. There are several different techniques used for making latte art, each with its own unique approach.
The most basic technique is called the free pour method. This involves using a pitcher and pouring the steamed milk directly into the espresso shot, creating symmetrical patterns such as hearts, rosettes, and tulips. The free pour technique requires practice and skill in order to achieve consistent results, but it can be a great way to get started with latte art.
Another popular technique is called etching or stenciling. This involves placing a metal or plastic stencil over the surface of the drink before pouring the milk, creating intricate designs such as leaves and feathers. Etching requires more precision than free pouring but can be used to create beautiful designs that are not possible with free pouring alone.
Finally, there is the rosetta method which involves using two pitchers instead of one. One pitcher contains steamed milk while the other contains espresso shots. The two liquids are poured together simultaneously in order to create a “rosetta” shape on top of the drink. This technique requires more practice and skill than either of the other methods but can create stunning results when done properly.
Latte art is an art form that has grown in popularity over the years, and it can be a great way to add a little flair to your coffee drinks. Different techniques such as free pouring, etching or stenciling, and rosetta methods can be used to create beautiful designs that will make your coffee drinks stand out from the rest. With practice and skill, anyone can learn how to make amazing latte art!
Understanding Milk for Latte Art
Making latte art is both a science and an art. While there are many different ingredients and techniques that go into creating beautiful designs in your drinks, mastering milk texture is the foundation for any successful latte art.
Understanding the basics of milk and how it interacts with espresso will help you create the perfect canvas for pouring latte art. Milk has three main components: fat, protein, and water. It’s important to understand how each of these components behaves when heated, as they all contribute to the texture of the foam.
When steaming milk, the goal is to create microfoam, which is a smooth, velvety texture that holds its shape when poured. The key to achieving microfoam is finding a balance between fat and protein in your milk. Low-fat milks like skim or 1% will create too much foam with no body or stability, while high-fat milks like 2% or whole milk can be difficult to break down into small bubbles due to their higher fat content. A good quality 2% or whole milk works best for steaming as they have more fat than low-fat milks but still contain enough proteins for microfoam creation.
When steaming, start by heating your pitcher until it’s hot to the touch. This helps ensure that your milk temperature doesn’t drop too quickly during steaming by providing insulation from the cold pitcher wall. Next, insert your steam wand about half an inch below the surface of your milk and turn on full power until you hear a hissing noise indicating that all of the air has been incorporated into the foam. Once you hear this noise, lower your steam wand just below the surface of the liquid and slowly move it around in circles to break up any large air bubbles while allowing more air to be incorporated into your microfoam. After about 10 seconds of steaming (or until a thermometer registers 140°F), remove your wand slowly and let any remaining foam settle before pouring onto your espresso shot.
Practice makes perfect when it comes to creating microfoam with just enough body and structure for pouring beautiful latte art designs! With some practice and patience you’ll soon be making coffee masterpieces!
Choosing the Right Coffee Beans for Latte Art
Creating a work of art with your latte requires more than just skillful pouring – it also requires the right type of coffee beans. The flavor profile and grind of the beans will have a big impact on the result of your latte art. Here are some things to consider when selecting coffee beans for latte art:
Flavor Profile
When choosing coffee beans, you’ll want to keep in mind the flavors you want to achieve in your finished product. Think about the type of roast you prefer, as well as any other flavor notes such as sweetness, acidity, and body. Different types of beans will bring out different flavor notes, so it’s important to select those that complement each other.
Grind Size
The grind size is an important factor when it comes to creating beautiful latte art. A coarser grind is usually best for pour-over or French press brewing methods, while a finer grind is best for espresso-based drinks. If you’re using an espresso machine, make sure that the grind size is consistent – any inconsistencies can cause problems with your finished product.
Freshness
Coffee beans start losing their flavor and aroma soon after they are roasted, so it’s important to choose freshly roasted beans for best results. Freshly roasted coffee will have more complexity and depth of flavor than older beans, which can make all the difference in your latte art.
Choosing the right type of coffee beans for latte art isn’t always easy – but with a bit of experimentation and practice, you can find the perfect combination that produces delicious results every time!
Preparing the Coffee for Latte Art
Creating beautiful latte art is an art form that requires skill and practice. To get started, the first step is to prepare the coffee correctly. This means grinding the coffee beans to the correct size, dosing it into the portafilter, and tamping it with a tamper. The grind size should be just right – not too coarse or too fine – to ensure that water flows through evenly and quickly when brewed. The dose should be between 18-20 grams of coffee for a single shot of espresso, and tamping should be done with even pressure to make sure that all particles are compacted tightly.
Once the espresso has been prepared correctly, it’s time to create the milk foam. Milk should be steamed until it reaches 140-160 degrees Fahrenheit and then poured into the shot of espresso. Depending on the type of milk being used (non-dairy vs dairy), different techniques can be used for creating a silky smooth microfoam that will help create beautiful latte art designs. For dairy milk, creating microfoam involves using a steam wand to initially heat up the milk before introducing air bubbles in order to give it a glossy sheen. For non-dairy milk, use a high speed blender or immersion blender in order to incorporate air bubbles and create velvety foam.
Finally, once both the espresso shot and milk foam are prepared correctly, they can be combined together in order to pour latte art designs. Latte art can range from simple shapes like hearts or tulips all the way up to intricate 3D designs involving rosettas or swans. Whatever design is chosen, having properly prepared coffee and milk will ensure that it turns out perfectly!
Steaming the Milk for Latte Art
Making latte art is a beautiful way to add a unique touch to your coffee drinks. In order to make beautiful latte art, it’s important to know how to properly steam milk. Steaming the milk correctly will ensure that the milk has the proper texture and temperature before pouring it into your latte.
The first step in steaming milk is heating it until it reaches around 145-155°F. This can be done with an espresso machine, stove top, or microwave. Once you have heated your milk, you will need to use an electric frother or steaming wand to create microfoam. This step is important as the foam will give your latte art its definition and structure.
When using a steam wand, insert the tip of the wand just below the surface of the milk and move it around in a circular motion until there are small bubbles forming on top of the surface of the milk. If you’re using an electric frother, turn on low speed and place just below the surface of the milk and move around until small bubbles form on top.
Once you have created microfoam, you can increase the speed of your frother or steam wand for about 10-15 seconds until you reach your desired consistency for pouring latte art. Keep in mind that too much heat can cause burning or scalding so be sure to monitor your temperature carefully. Once you have reached desired foam consistency, remove from heat and pour into espresso shots.
Steaming milk properly is key to making beautiful latte art drinks at home. With a little practice, anyone can master this skill and create barista quality coffee drinks!
Practising Free-Pouring Technique for Making Latte Art
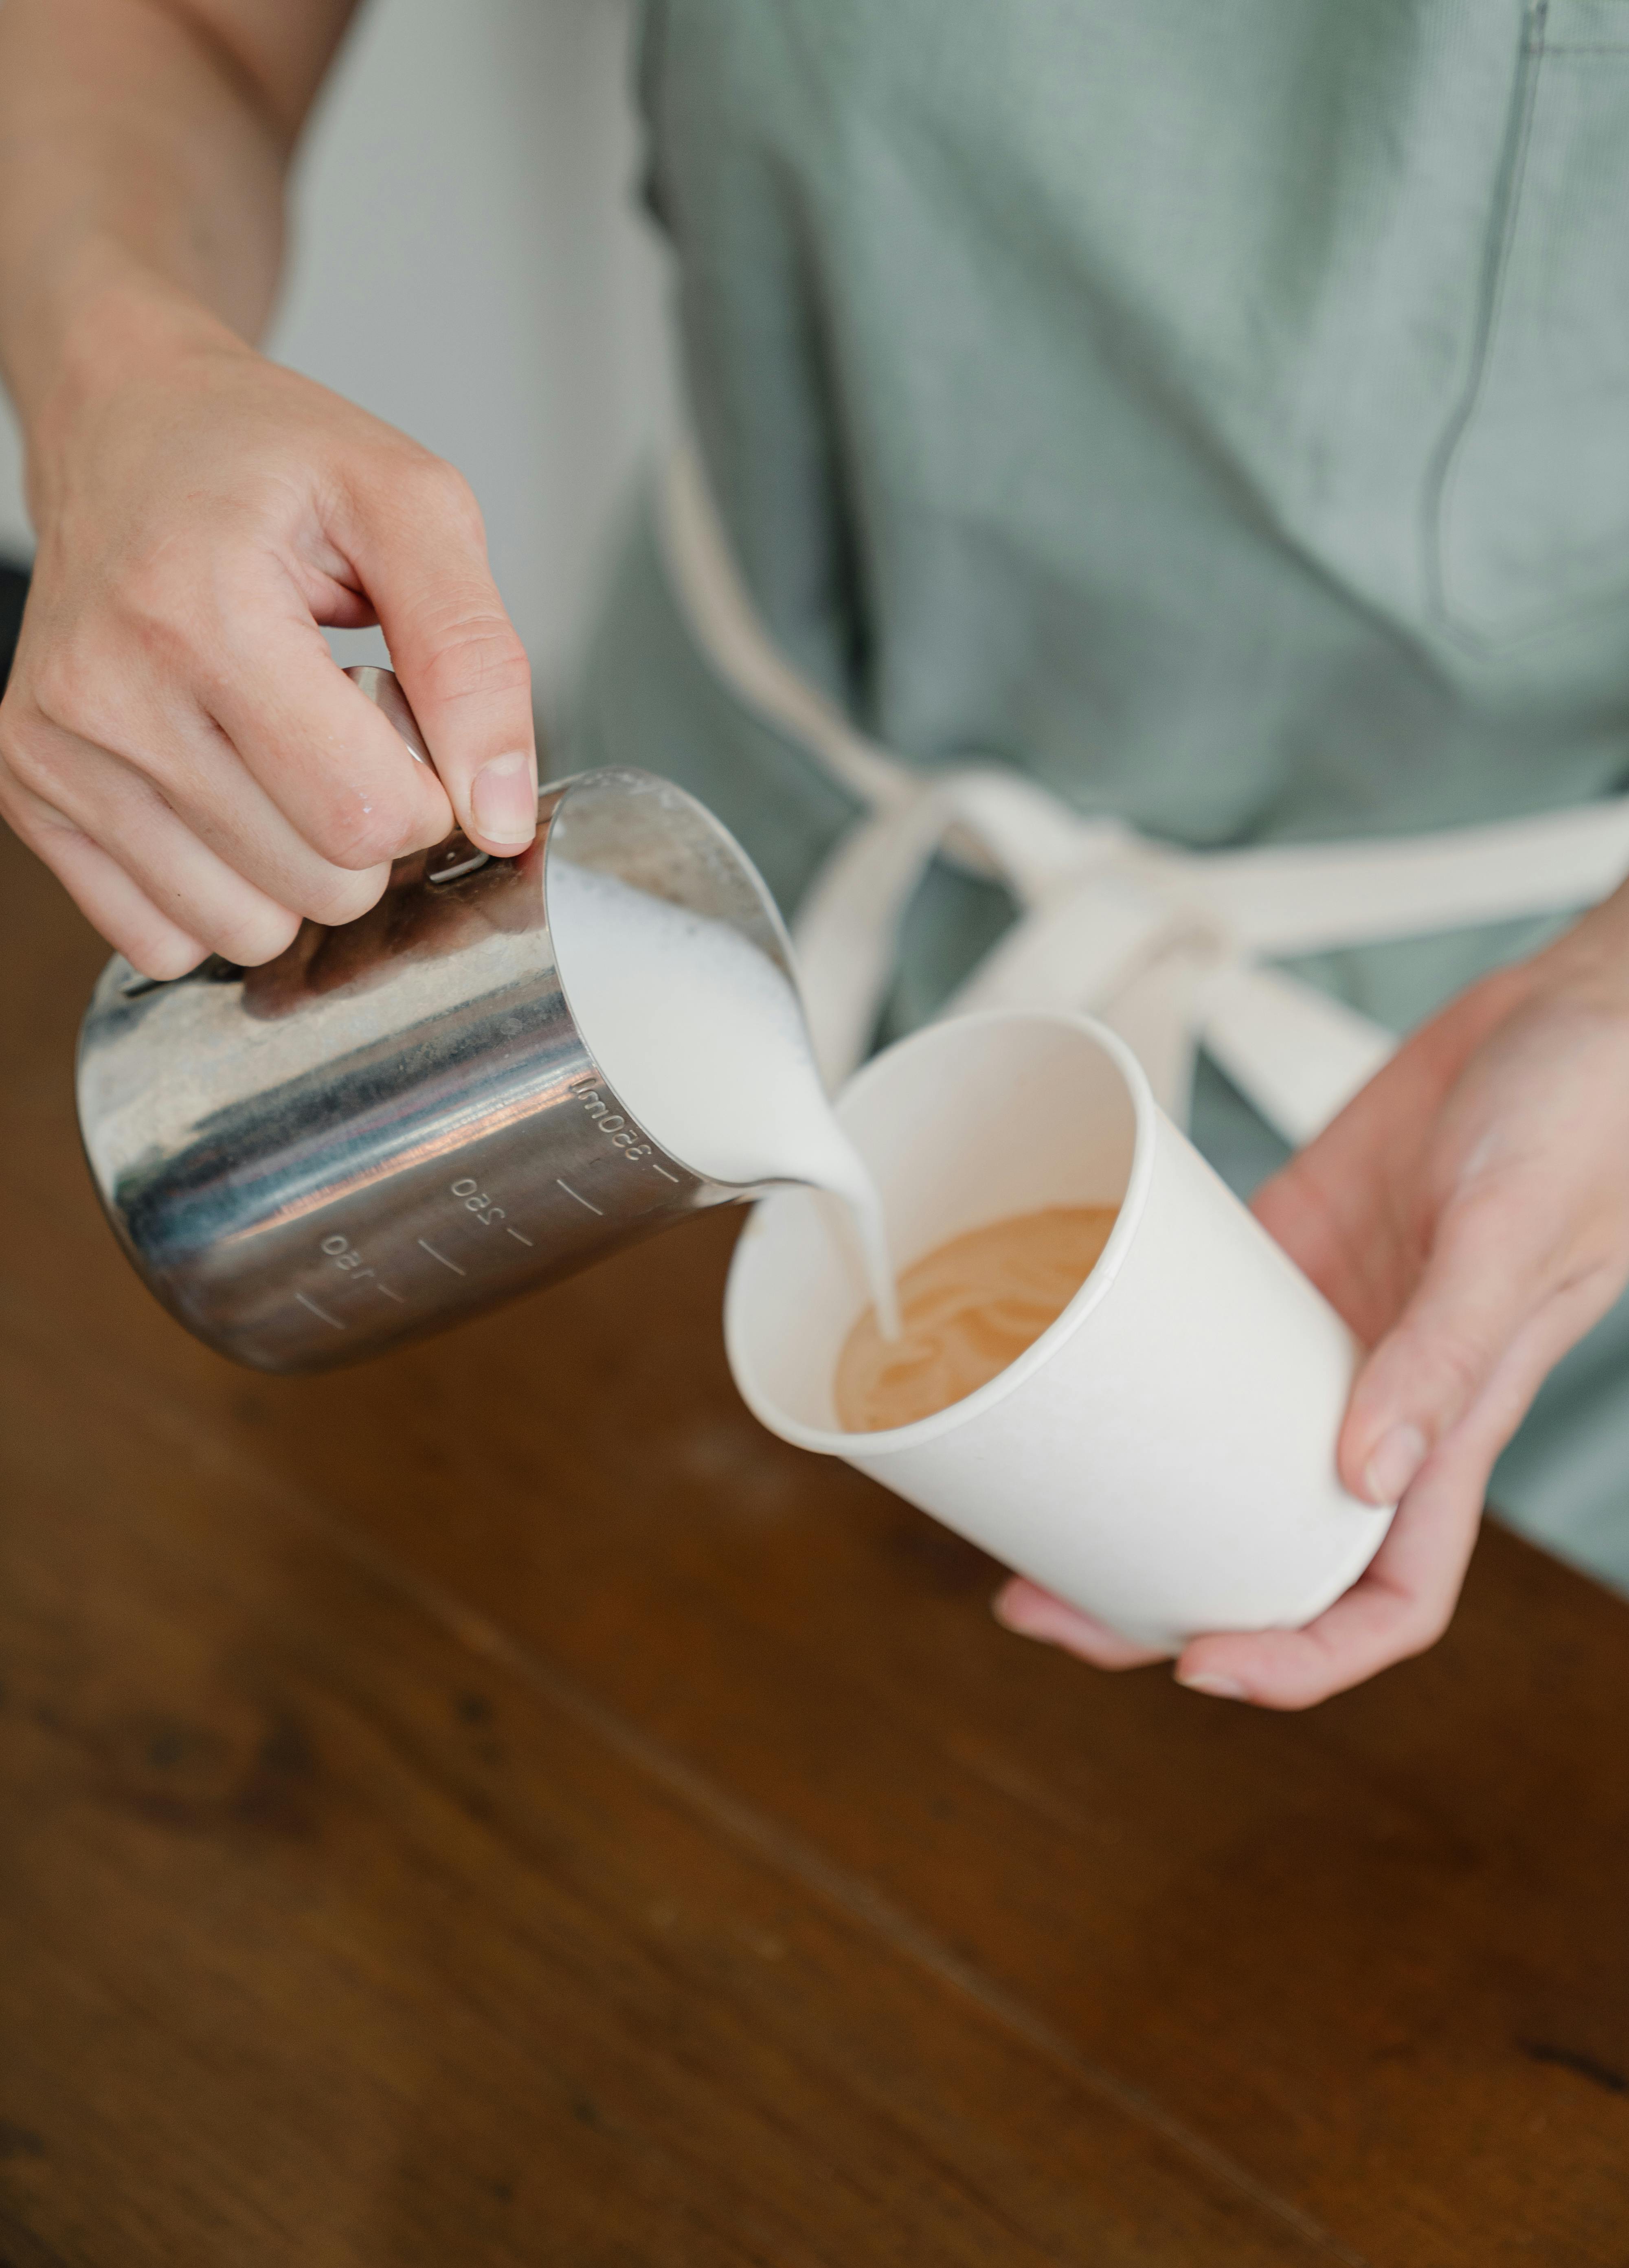
Making latte art is a popular trend in the coffee culture, and it can be a great way to show off your skills as a barista. The most common technique used for creating latte art is free-pouring, which involves pouring steamed milk into espresso in a specific pattern. This technique requires some practice to master, but it can be an effective way to make beautiful designs in your drinks.
To start, it’s important to understand the basics of free-pouring. The key is to pour the steamed milk slowly and evenly into the espresso while controlling the flow. The goal is to create an even layer of foam on top of the espresso while keeping the liquid and foam separate. You’ll also need to adjust the distance between the pitcher and cup as you pour so that you can create different patterns in your latte art.
Once you’ve mastered these basics, you’ll need some practice before you can create more complex designs. Start by trying simple shapes like hearts and swans, then gradually work your way up to more intricate patterns. It’s important to keep practicing until you get a feel for how different amounts of pressure will affect the patterns you’re creating.
As with any skill, practice makes perfect when it comes to making latte art using free-pouring technique. Take your time and be patient with yourself as you learn this skill. With enough practice, you’ll be able to create beautiful designs in no time!
Troubleshooting Common Problems with Latte Art
Making latte art can be a challenging yet rewarding experience. From creating the perfect espresso shot to pouring the milk in the right way, there are many techniques that need to be mastered in order to produce a beautiful cup of coffee. However, even experienced baristas can run into problems when making latte art. Here are some of the most common problems and how to fix them.
Too Much Milk: If you find that you’ve added too much milk for your latte art, you can use a spoon or knife to carefully remove some of the excess liquid from the cup. Alternatively, you can add more espresso shots and blend it all together for a stronger flavor.
Inconsistent Pouring: Uneven pouring can lead to imperfect shapes and lines in your latte art. To fix this problem, make sure you’re pouring at a consistent speed and angle throughout the entire pour. You should also move your pitcher in slow circles while pouring to create smoother edges.
Uneven Heat Distribution: When steaming milk for latte art, it’s important to make sure the heat is distributed evenly throughout the pitcher. This will ensure that your espresso shot is properly blended with the milk and doesn’t separate during the pour. To achieve an even heat distribution, use an automatic frother or move your steam wand around while steaming.
Too Much Foam: Too much foam can ruin your latte art design as it creates too many air bubbles on top of your beverage. To prevent this problem, make sure you don’t over-froth your milk. You should also tap the bottom of your pitcher on a hard surface before pouring to help settle any large air bubbles.
These are just a few tips that can help you troubleshoot common issues when making latte art. With practice and patience, you’ll be able to create beautiful cups of coffee every time!
Conclusion
Making Latte Art with milk coffee is an exciting activity that can become a hobby or even a profession. While the process may seem complicated at first, with practice and patience you can create beautiful designs. The most important thing is to master the basics of making espresso and steaming the milk, then it’s just a matter of getting creative to make designs. It’s also important to buy quality coffee beans, practice proper preparation techniques, and use good techniques to pour your design. With the right tools and supplies, anyone can learn how to make latte art.
Make sure you take your time and enjoy the art of making latte art! With patience and practice you will be able to make stunning designs that everyone will love. You can even experiment with different flavors, textures and techniques. Have fun with it!
0 Comments