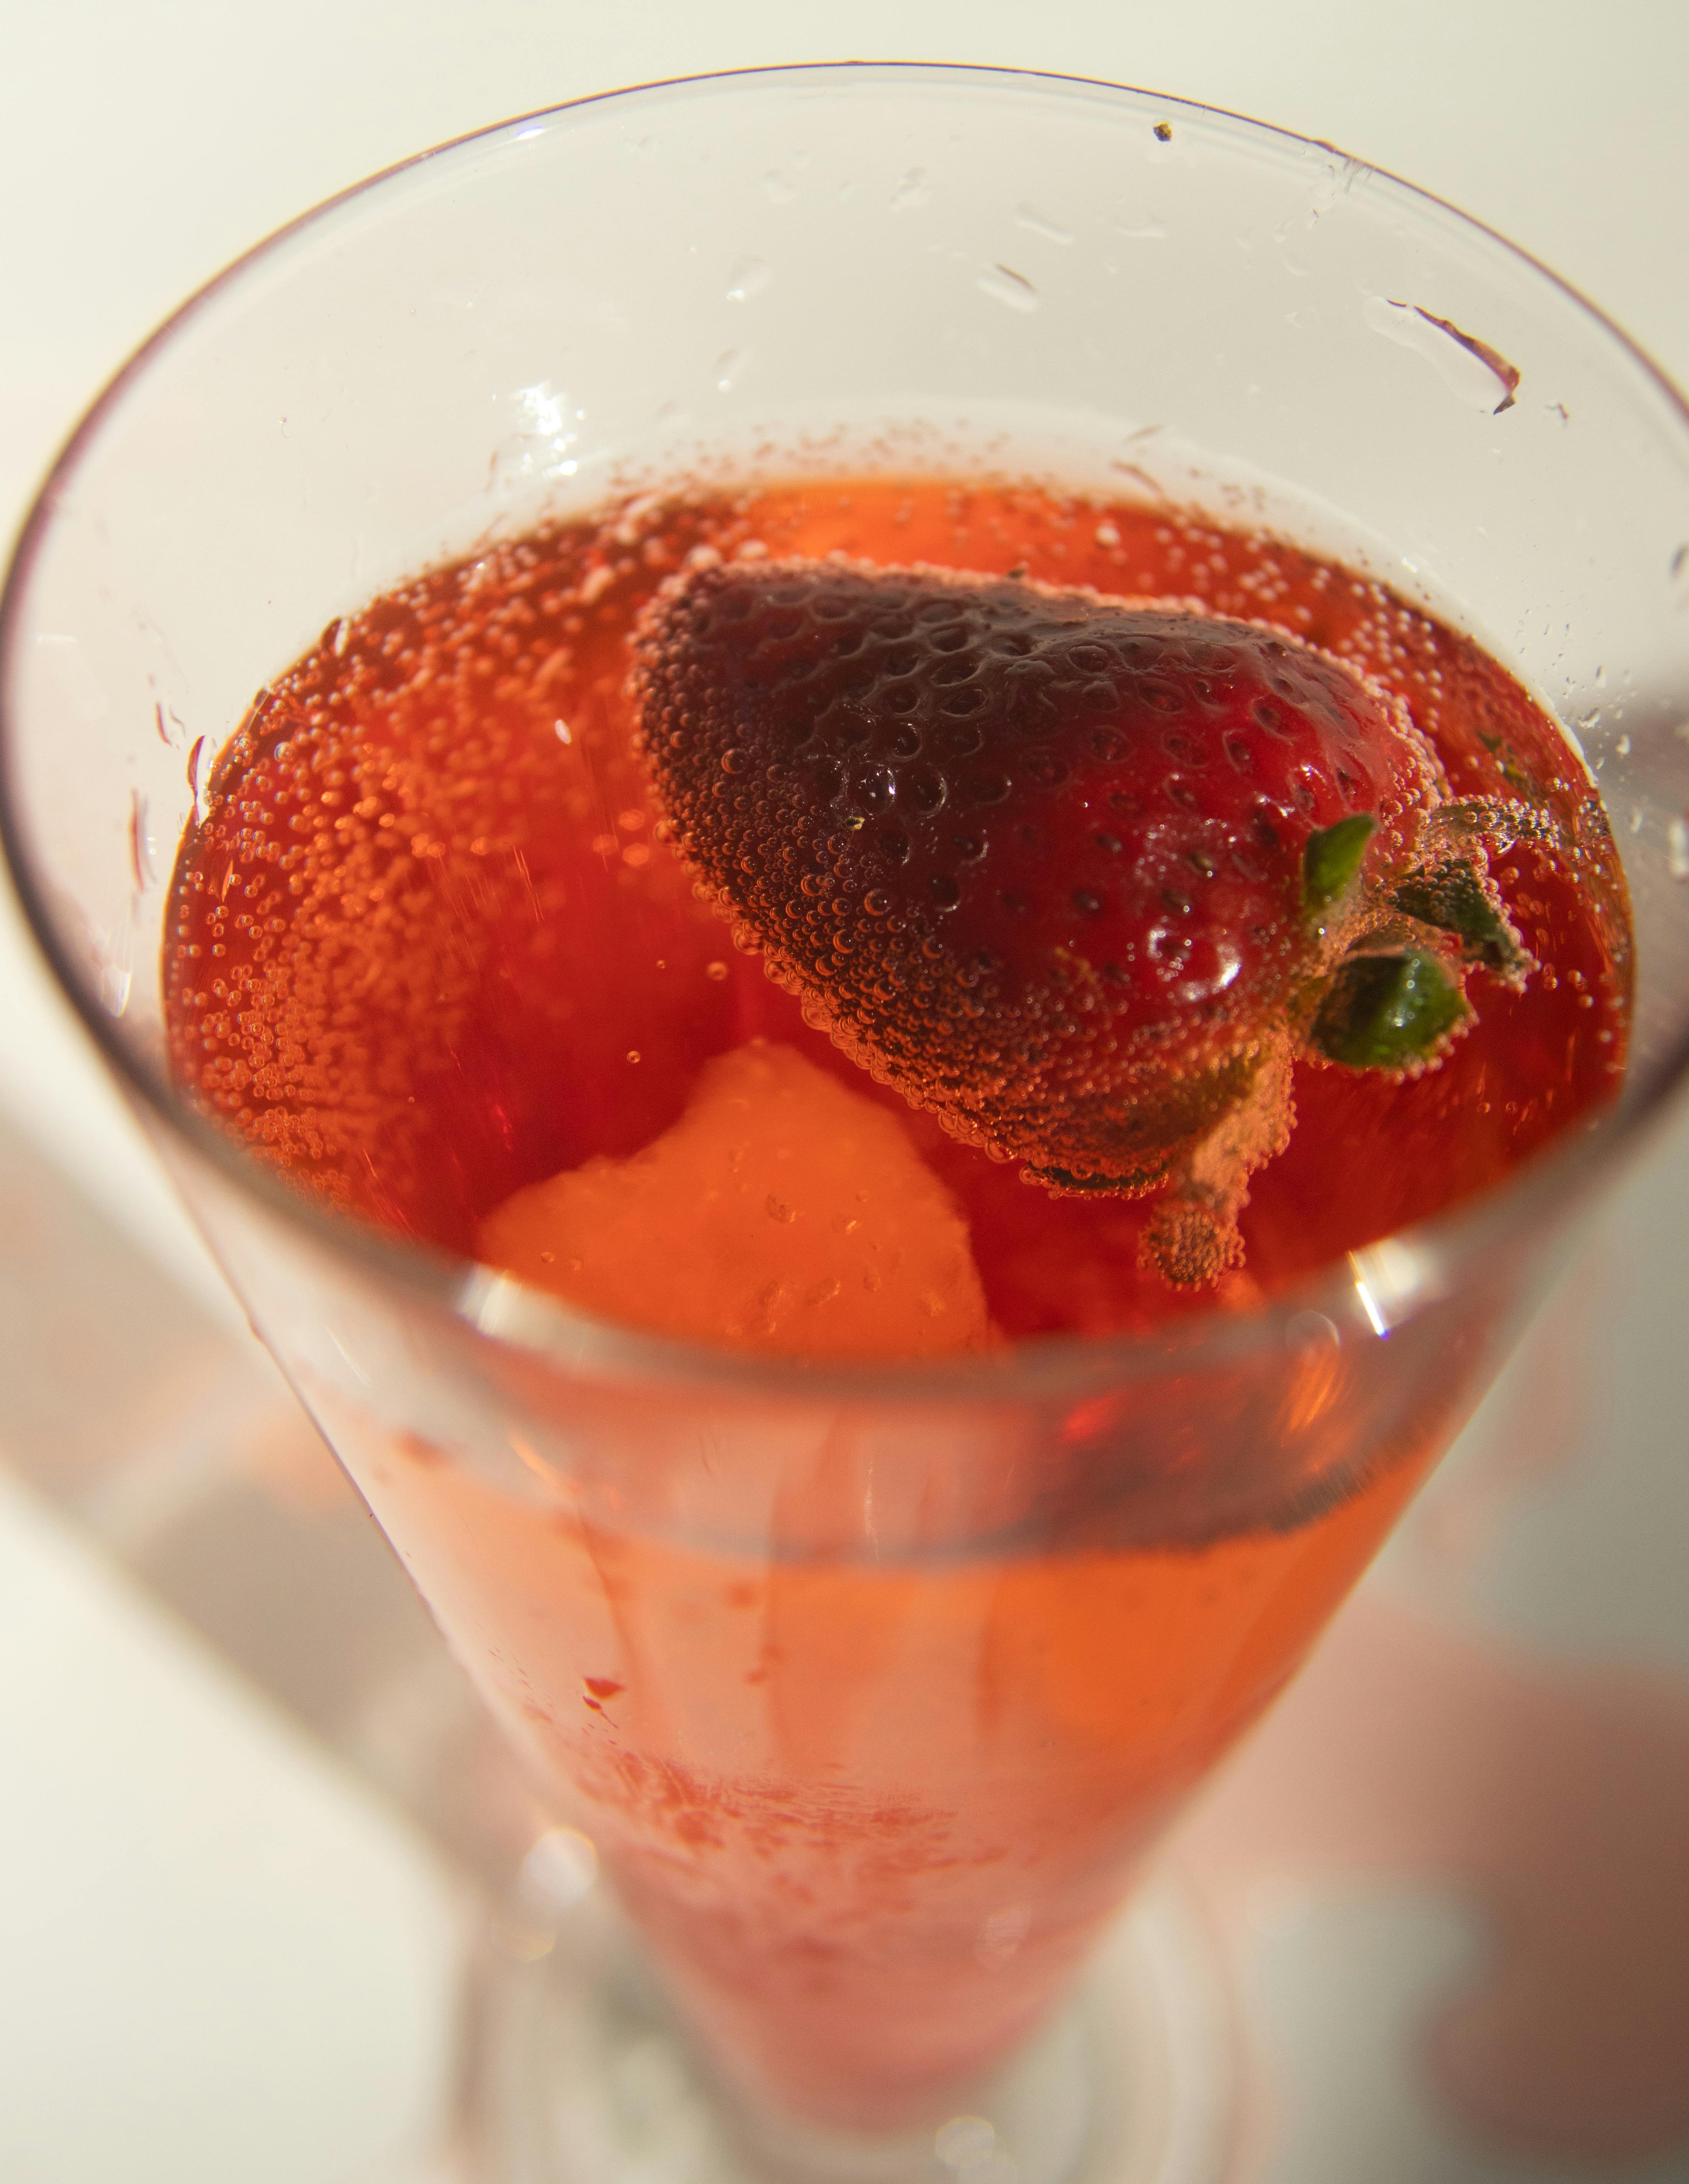
Storing Homemade Strawberry Juice
Homemade strawberry juice is a delicious, refreshing beverage that is perfect for hot summer days. It can be made with fresh strawberries, store-bought frozen strawberries, or even dried strawberry powder. But once you make it, how do you store it? Read on to learn how to keep your homemade strawberry juice fresh and free from spoilage.
The key to successful storage of homemade strawberry juice is to keep it cold and minimize exposure to air. The cold temperature will help slow down the growth of bacteria, while minimizing oxygen exposure will reduce oxidation and the development of off-flavors.To make homemade strawberry juice, you’ll need a few basic ingredients:
• Fresh strawberries – 2 cups
• Water – 4 cups
• White sugar – 1/4 cup
• Lemon juice – 2 tablespoons
You’ll also need some kitchen essentials such as a blender, strainer, and a container to store the finished juice.
Once you have all the necessary ingredients and tools, it’s time to get started! First, take the strawberries and cut them into small pieces. Place them into the blender with the water and blend until smooth.
Next, pour the blended mixture through a strainer into a bowl or container. This will remove any large chunks of fruit. Now add the sugar and lemon juice to the strained mixture and stir until everything is evenly combined.
Finally, transfer your homemade strawberry juice to an airtight container or bottle and store it in the refrigerator for up to one week. Enjoy!
Contents
Choosing the Right Strawberries
Strawberries are a delicious and versatile fruit, but it can be tricky to find the perfect ones. When it comes to choosing strawberries, there are a few things to consider. Here are tips on how to pick out the best strawberries for your needs:
Color: Look for bright red strawberries that have a glossy sheen. Avoid any that look pale or have white tips, as these may not be ripe enough. If you’re looking for sweeter berries, choose those with a deep red color.
Firmness: The strawberries should be firm, but not hard. Give them a gentle squeeze; they should give slightly under pressure without being mushy.
Smell: The best strawberries will have a sweet, floral scent. Avoid any that smell sour or have an off-putting odor.
Shape: Strawberries should be symmetrical and uniform in shape without any bruises or blemishes. If they look misshapen or have soft spots, they may not be fresh.
By following these simple tips, you can ensure you’re getting the freshest and most delicious strawberries available!
Cleaning and Prepping the Strawberries
Cleaning the strawberries is an important step when prepping them to use in recipes. In order to ensure that the strawberries you’re using are clean, it’s important to give them a good rinse. Fill a bowl or large pot with cold water, and then place the strawberries inside. Let them sit for several minutes and then use your hands to gently rub off any dirt or debris. After rinsing, use a paper towel to dry each berry individually before chopping or slicing them.
Once the strawberries are clean, it’s time to prep them for whatever recipe you plan on making. Depending on your recipe, you may need to cut the berries into slices or chop them into small pieces. Use a sharp knife when cutting up the berries and be sure to discard any bruised or mushy pieces before adding them to your recipe. Additionally, if you plan on adding sugar or other sweeteners to your recipe, be sure to add those ingredients prior to prepping the strawberries. This will help ensure that all of the ingredients are evenly distributed throughout your dish.
Blending the Strawberries
Blending strawberries is a fun and easy way to make delicious and healthy treats. Blenders are great for making smoothies, shakes, ice creams, and other treats. With a few simple steps, you can make a tasty treat with fresh strawberries.
First, gather your ingredients. You will need fresh or frozen strawberries, honey or sugar, and any other ingredients you would like to add in such as yogurt or cream.
Next, wash the strawberries and remove any green tops. Add the fruit to the blender along with any other ingredients you would like to use. If you are using frozen fruits, it is best to let them thaw a bit before blending so that they blend more smoothly.
Then, blend the ingredients on high for about 1-2 minutes or until completely blended. If you find that your mixture is too thick, add a bit of water or juice to thin it out. Once everything is blended together nicely, pour into individual glasses and enjoy!
Blending strawberries is a great way to enjoy a healthy sweet treat without having to bake anything! With just a few simple steps you can make something delicious in no time at all!
Strain the Blended Juice
Straining the blended juice is an important step when making juice to ensure that all of the pulp, skins, and seeds are removed. This will give you a smooth and pleasant drinking experience. A simple way to do this is to use a strainer, cheesecloth, or a fine mesh sieve. Place the strainer over a bowl or container and slowly pour the blended mixture into it. Allow the liquid to pass through while catching any solids in the strainer. You can also stir the mixture gently with a spoon or spatula to help move it along. Once all of the liquid has been strained, discard any solids that were caught in the strainer. Your freshly strained juice is now ready to enjoy!
It is important to note that there may still be some small pieces of fruit in your juice even after straining. If you want an even smoother consistency for your juice, you can use a nut milk bag or several layers of cheesecloth instead of a regular strainer. This will help catch any remaining particles and give you an extra smooth drink.
Straining your blended juice not only makes it more enjoyable but also helps preserve its freshness for longer periods of time. By removing any solids, you prevent them from spoiling quickly and create a shelf-stable product that can be kept in your refrigerator for up to one week. So don’t forget to strain your next batch of freshly blended juice!

Adding Sweeteners and Flavoring
Adding sweeteners and flavorings to your homemade beverages can help enhance the flavor and make them more enjoyable. There are many different types of sweeteners and flavorings available to choose from, so it’s important to do some research before adding anything to your drinks.
When selecting sweeteners, it is important to consider the type of flavors you are looking for in your beverages. Natural sweeteners such as honey, maple syrup, or agave nectar can provide a subtle sweetness without overpowering the other flavors. Artificial sweeteners such as sucralose and aspartame can be used to achieve a sweeter taste without adding additional calories. It’s important to note that artificial sweeteners can have an aftertaste that some people find unpleasant, so it’s best to experiment with different ratios before committing to any one type of sweetener.
Flavorings can also be used to add unique notes or tastes to homemade beverages. Popular options include extracts like vanilla or almond; fruit juices; herbs like mint or basil; spices like cinnamon or nutmeg; and even coffee beans or tea leaves. It is important to read labels carefully when selecting flavorings, as some may contain added sugars or other unwanted ingredients. Experimenting with different combinations can help you find the perfect balance of flavors for your homemade drinks.
In conclusion, adding sweeteners and flavorings can be a great way to create delicious homemade beverages that are tailored specifically for your personal tastes. Be sure to consider all of the options carefully before deciding which ones will work best for you!
Pasteurizing the Juice
Pasteurizing juice is a process of heating the juice to a certain temperature to kill any harmful bacteria and spoilage microorganisms present in it. This process gives the juice a longer shelf-life and prevents it from spoiling or becoming unsafe to consume. The pasteurization process usually involves heating the juice to a temperature of 145°F for at least 30 minutes. Higher temperatures can be used, but it is important to make sure that the temperature does not exceed 170°F as this can cause the juice to become bitter and unpalatable.
After pasteurizing the juice, it needs to be cooled quickly to prevent further degradation of its flavor and quality. The ideal cooling method is cold water immersion which can reduce the temperature of the pasteurized juice within minutes. After cooling, the pasteurized juice can be stored in refrigerator or at room temperature depending on its shelf-life requirements.
It is important to note that while pasteurizing helps in enhancing the safety and shelf-life of juices, it may also have some negative impacts on their flavor, texture, aroma, and nutritional value. Therefore, it is recommended that juices should only be pasteurized when absolutely necessary.
Freezing Homemade Strawberry Juice
Making fresh juice from your own strawberries is a great way to get the most out of the fruit. But if you don’t plan on drinking it all at once, you’ll need to know how to store it properly. Freezing homemade strawberry juice is a great way to preserve it and make sure you can enjoy it for a much longer period of time.
The first step in freezing homemade strawberry juice is to make sure that you are using the freshest strawberries possible. Once they are picked, they will begin to deteriorate quickly and lose their flavor and nutritional value. Aim for organic, ripe strawberries that are still slightly firm and have a bright red color.
Once you have your strawberries, wash them gently in cold water and let them dry completely before proceeding with the juicing process. When juicing, use the whole fruit including the stems and leaves for maximum flavor and nutrients. Place the strawberry pulp in a fine mesh strainer over a bowl or cup so that only the juice runs through while the pulp remains behind.
When your strawberry juice is complete, pour it into an airtight container or glass jar. Label it with the date so you know when you made it and freeze it immediately for best results. When ready to drink, thaw out in the refrigerator overnight or at room temperature before drinking. Enjoy your fresh homemade strawberry juice!

Conclusion
Storing homemade strawberry juice is an easy process that does not require a large amount of time or equipment. All you need to do is add sugar and lemon juice to the freshly-pressed strawberry juice and pour the mixture into a clean glass jar. Make sure that the lid is tightly sealed to prevent contamination. Additionally, store the jar in a cool, dark place for optimal results.
By following these steps, you can enjoy your homemade strawberry juice for weeks at a time! Not only will it taste great in drinks and desserts, but it can also be used as an ingredient in recipes or as a base for smoothies. There are so many possibilities when it comes to using this delicious homemade juice!
0 Comments